
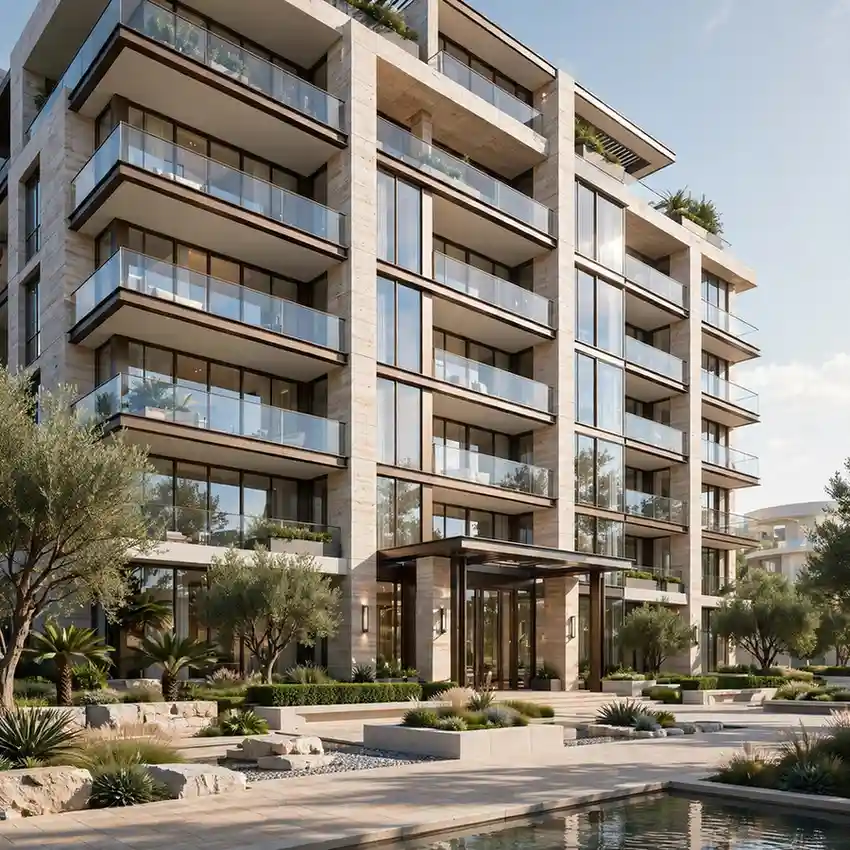
Photorealistic rendering explained simply: it is the process of using physically accurate lighting, material, and camera simulation to make a computer-generated image indistinguishable from a photograph. It depends on four pillars: global illumination, physically based materials, optical camera behavior, and high-fidelity geometry, all processed through a ray-traced rendering engine. Every convincing exterior render or interior walkthrough you have ever seen rests on these same principles, whether it was built for a real estate listing, a hotel brochure, or a penthouse marketing brochure.
Achieving photorealism is not as simple as enabling a single setting or applying a preset. It is the result of a carefully layered technical workflow that combines physically accurate lighting, high-quality materials, precise geometry, artistic composition, and powerful rendering technology. Understanding the factors that distinguish a flat, computer-generated image from one that convincingly replicates reality allows architects, developers, real estate professionals, and marketers to communicate their expectations more effectively, evaluate rendering quality with confidence, and make informed decisions before project delivery. To see how these principles are applied in real-world architectural visualization projects, explore our professional 3D Exterior Rendering Services, where we follow a physically based rendering workflow from conceptual massing and material development to lighting, post-production, and final photorealistic delivery.
What is Photorealistic Rendering?
Photorealistic rendering is a computer graphics technique that simulates how light physically behaves in the real world to produce an image that looks like a photograph rather than an illustration. Instead of approximating shadows and reflections, the renderer calculates them using the same principles that govern real photons: bouncing, scattering, refracting, and absorbing.
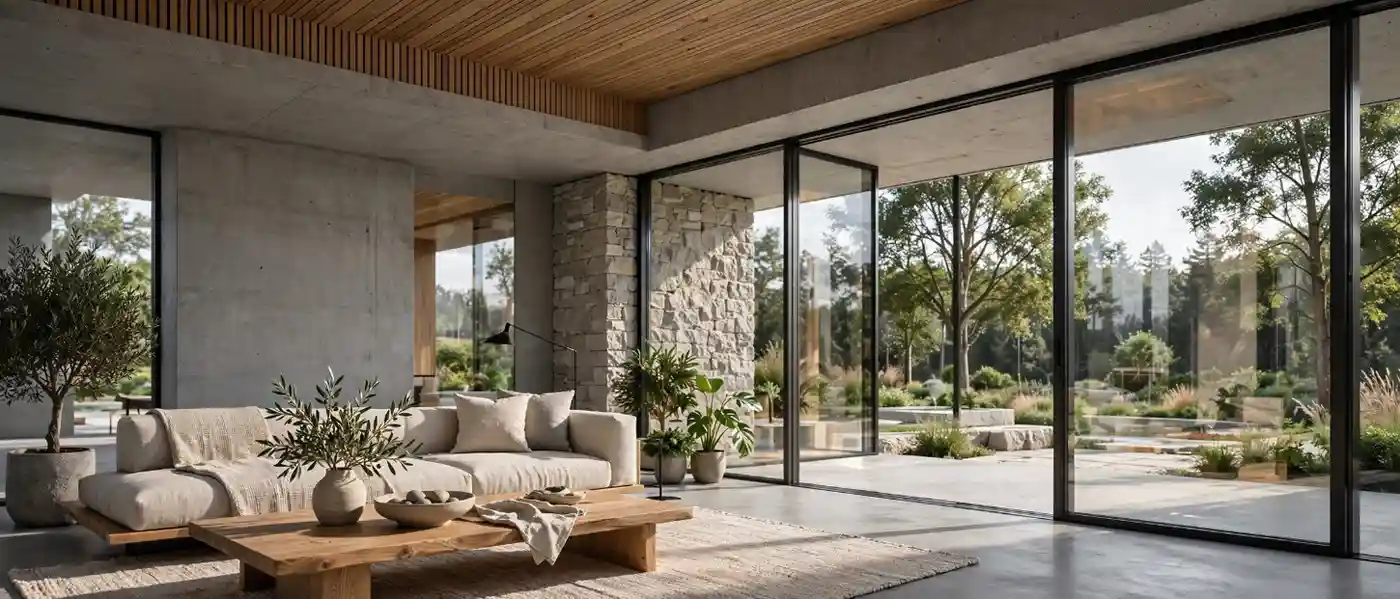
In short, a photorealistic render answers three questions correctly:
- How does light travel and bounce through a scene before it reaches the camera?
- How does each surface respond to that light based on its real-world material properties?
- How does a camera lens actually capture that light, including its imperfections?
When all three are modeled accurately, the human eye reads the result as “real” rather than “rendered.” This is the foundation the rest of this article builds on.
It is worth noting that photorealism is not a binary switch; it exists on a spectrum. A render can be 80 percent of the way there, with accurate lighting but slightly flat materials, or it can push into the final 5 percent where even trained architects have to look twice to confirm whether they are viewing a photograph or a render. That final stretch is where the technical factors below make the biggest difference, and it is also where most rendering budgets and timelines are actually spent.
Why Photorealistic Rendering Matters for Real Estate and Development Marketing
Before breaking down the technical mechanics, it helps to understand why so much effort goes into achieving this level of realism in the first place. For developers, architects, and real estate agents, a render is rarely just a visual; it is a sales tool that has to build trust with a buyer who cannot yet walk through the physical space.
Consider a few practical scenarios:
- A pre-construction condo development needs marketing material months, sometimes years, before the building exists.
- A hotel brand wants to showcase a renovated lobby to investors before construction begins.
- A real estate agent listing a property with an unfinished basement wants to show its potential once developed.
In each case, buyers and stakeholders are being asked to make significant financial decisions based on an image. If that image looks obviously synthetic, with flat lighting, plastic-looking materials, or unnatural proportions, it can quietly undermine confidence in the entire project, even if the underlying architecture is excellent. Photorealistic rendering closes that trust gap by presenting the future property the way a camera eventually will.
This is precisely why the technical rigor described in this article is not an academic exercise. It has a direct line to conversion rates, investor confidence, and how quickly a listing or pre-sale unit moves.
The Core Technical Factors Behind Photorealistic Rendering
Achieving true photorealism is not a single feature; it is the sum of several interconnected technical systems working together. Below are the pillars that every high-quality studio, including ours, relies on.
Lighting and Global Illumination

Lighting is arguably the single biggest factor separating a photorealistic render from an obviously synthetic one. Real-world light does not simply hit a surface and stop; it bounces repeatedly between walls, floors, and objects, picking up color and softness along the way. This phenomenon is called global illumination (GI), and it is what makes a sunlit room feel warm even in shaded corners.
Modern rendering engines simulate GI using:
- Path tracing – following the path of thousands of simulated light rays as they bounce through a scene.
- Physically based sky and sun models – which calculate accurate sun position, color temperature, and atmospheric scattering for any time, date, and location.
- Indirect bounce light – color bleeding from a red carpet onto a nearby white wall, for example, which the eye unconsciously expects to see.
Without accurate GI, a render tends to look flat, over-lit, or artificially “clean,” because shadows lack the soft gradients and color bleed that real environments always contain.
There is also a subtler layer to lighting realism that studios often overlook under tight deadlines: consistency of light direction and intensity across every surface in a scene. A shadow cast by a balcony railing, for instance, needs to fall at exactly the same angle as the shadow cast by a nearby tree, because both are being lit by the same sun. Even a small mismatch here, often just a few degrees, is something the human visual system detects almost instantly, even if the viewer cannot explain why the image feels “off.” This is one of the most common giveaways that separates amateur renders from studio-grade work.
Time of day and atmospheric conditions add another layer of complexity. A midday render has harsh, high-contrast shadows and cool-toned ambient light, while a golden-hour render has long, warm-toned shadows and soft highlights. Overcast scenes, by contrast, rely almost entirely on diffuse skylight rather than a direct sun source, which changes how every material in the scene reflects light. Studios that specialize in exterior work typically test multiple lighting scenarios before finalizing a hero shot, because the “right” lighting condition often depends on the building’s orientation, its glazing, and the mood the marketing material is trying to convey.
Physically Based Materials and Textures

A material in a photorealistic render is not just a color and a texture map; it is a mathematical description of how a surface interacts with light. This approach, known as physically based rendering (PBR), uses several data channels per material:
- Albedo/base color – the raw color of the surface with no lighting baked in.
- Roughness – how sharply or diffusely the surface scatters reflected light.
- Metalness – whether the surface behaves like a conductor (metal) or dielectric (non-metal).
- Normal and bump maps – simulated micro-surface detail such as brick mortar lines or fabric weave.
- Displacement – true geometric height variation for close-up realism, such as stone texture or wood grain.
When these channels are calibrated against real-world reference values rather than guessed, materials respond to light exactly as their real counterparts would, whether that is brushed aluminum, glazed ceramic tile, or wet asphalt.
A useful way to understand why PBR matters is to compare it to the older, pre-physically-based approach still used in some budget rendering work. In that older model, an artist would manually adjust a “shininess” slider and a diffuse color until the material looked approximately right under one specific lighting setup. The problem is that the same material would then look wrong the moment the lighting changed, because the underlying values were never tied to real physical behavior in the first place. PBR solves this by anchoring every material to measurable, real-world properties, so a brushed steel railing looks correct whether it is lit by a bright midday sun or a soft overcast sky.
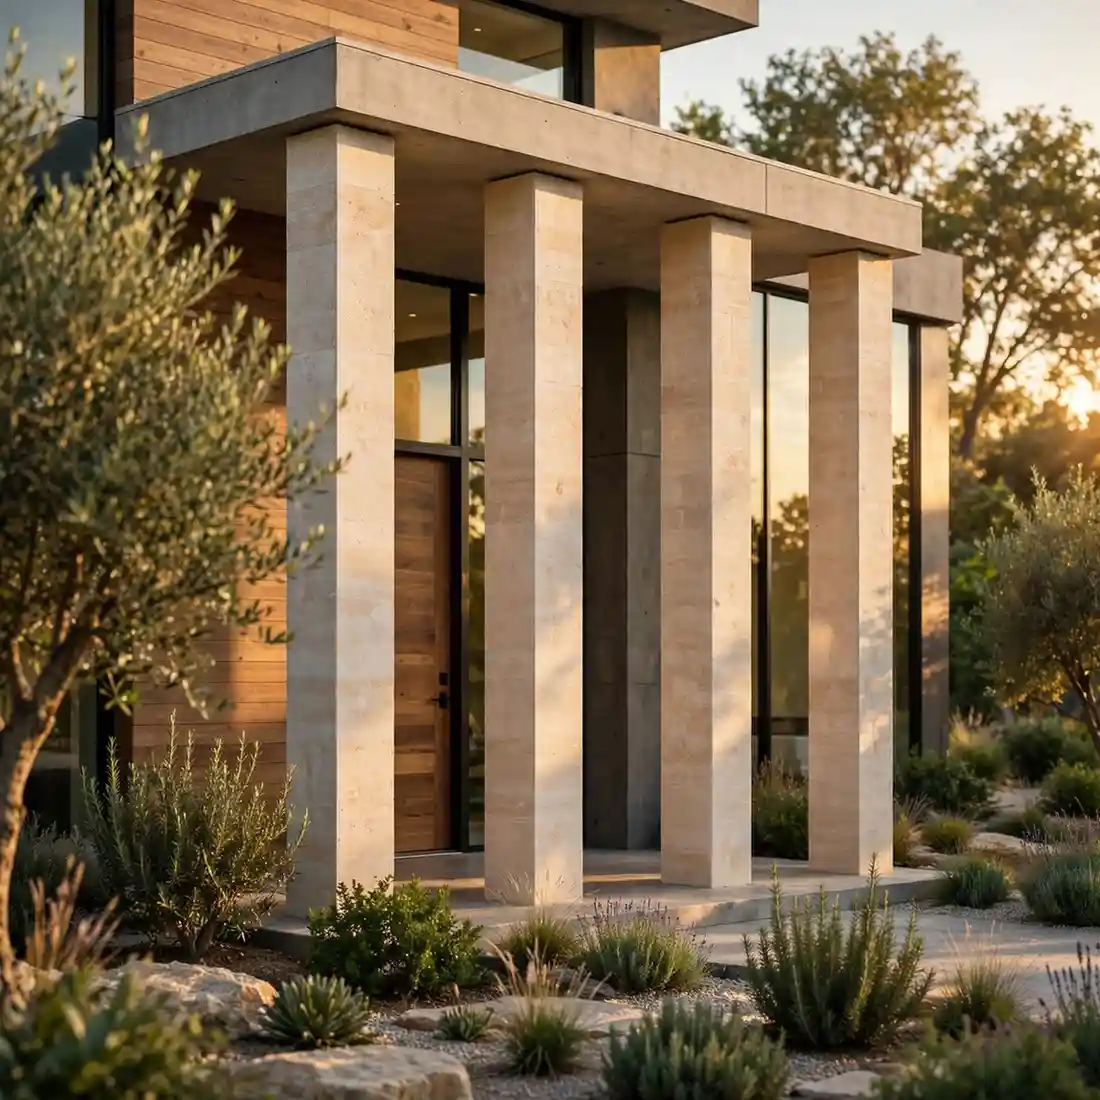
Texture resolution also plays a quiet but important role here. Low-resolution textures stretched across a large surface, such as a stone facade or a wood deck, tend to reveal repeating patterns or blurry close-ups once a viewer zooms in, which is common behavior on real estate listing sites and social media. Studios producing photorealistic work typically use 4K or higher resolution texture maps for hero surfaces and rely on techniques like texture tiling with edge-blending or procedural detail to avoid any visible repetition.
Camera, Lens, and Optical Effects

Photographs are not perfect; they carry the fingerprints of a physical lens and sensor. Ironically, adding these “imperfections” back into a render is what makes it believable. Key optical factors include:
- Depth of field – background blur that mimics a real camera aperture.
- Lens distortion and chromatic aberration – subtle bending and color fringing at the edges of a frame.
- Exposure and white balance – matched to real photographic standards (ISO, shutter speed, and f-stop equivalents).
- Bloom and vignette – light diffusion around bright sources and natural corner darkening.
A render built with a mathematically “perfect” pinhole camera and no optical behavior will almost always look artificial, no matter how good the lighting and materials are.
Focal length choice deserves particular attention in architectural work. Wide-angle lenses, common in real estate photography to make interiors feel larger, introduce a specific type of perspective distortion where vertical lines near the edge of the frame appear to lean inward or outward. A render that ignores this behavior and instead uses a mathematically neutral, distortion-free lens will often look subtly “too clean” compared to genuine wide-angle photography that a viewer is subconsciously used to seeing. Matching lens focal length and distortion characteristics to industry-standard real estate photography equipment, typically in the 16mm to 24mm equivalent range for exteriors, is one of the fastest ways to make a render sit comfortably next to actual site photography in a brochure.
Geometry Detail and Mesh Resolution

Photorealism also depends on how much real-world detail exists in the underlying 3D geometry itself, not just in the surface textures. Chamfered edges, slight surface irregularities, and correctly scaled furniture, foliage, and fixtures all contribute to believability. A perfectly sharp 90-degree edge, for instance, almost never occurs in real construction; a tiny bevel or fillet reads as authentic to the eye, even if the viewer cannot articulate why.
Rendering Engines and Ray Tracing Algorithms
The rendering engine powering the visualization plays a decisive role in determining how realistic the final image appears. Leading architectural visualization studios typically rely on physically based ray tracing and path tracing engines such as V-Ray, Corona Renderer, and OctaneRender. These advanced rendering engines simulate the real-world behavior of light by tracing millions of individual light rays as they interact with surfaces, producing highly accurate reflections, refractions, global illumination, soft shadows, and indirect lighting. Rather than relying on simplified lighting approximations, they recreate the physics of light transport to achieve a level of realism that closely mirrors real-world photography. According to Chaos, the developer of the industry-leading V-Ray renderer, physically based ray tracing has become the benchmark for architectural visualization because it accurately models how light travels and interacts with materials, resulting in more believable and photorealistic renderings.
Post-Production and Color Grading
Even a technically flawless render benefits from a final post-production pass, mirroring how real photographs are processed after capture. This includes color grading, contrast adjustment, and subtle grain or noise addition, all of which help a rendered image sit naturally alongside genuine photography in a marketing brochure or listing.

Photorealistic vs Stylized Rendering: A Quick Comparison
Not every project needs (or should use) a fully photorealistic approach. Stylized or “artistic” renders remain popular for early concept presentations, while photorealistic renders dominate final marketing and sales materials. The table below breaks down the differences.
| Factor | Photorealistic Rendering | Stylized Rendering |
|---|---|---|
| Primary Goal | Indistinguishable from a photograph | Convey mood, concept, or design intent |
| Lighting Method | Physically based GI and ray tracing | Simplified, artist-controlled lighting |
| Materials | PBR data matched to real-world references | Flat colors or simplified textures |
| Camera Behavior | Simulated lens effects (DOF, exposure, aberration) | Clean, idealized camera with no imperfections |
| Render Time | Higher, due to ray/path tracing calculations | Lower, faster iteration |
| Best Used For | Final marketing, listings, investor decks | Early design review, mood boards |
| Typical Client Use Case | Real estate listings, hotel brochures, penthouse marketing | Concept pitches, schematic design phases |
For developers, architects, and real estate professionals preparing to market a completed or soon-to-be-completed project, seeing real-world examples can be just as valuable as understanding the underlying technology. Explore our 3D Exterior Rendering Portfolio to see how advanced rendering techniques, physically based materials, realistic lighting, and meticulous post-production come together to create photorealistic visualizations that effectively showcase architectural designs and support successful property marketing.
Step-by-Step: How a Photorealistic Render Is Produced
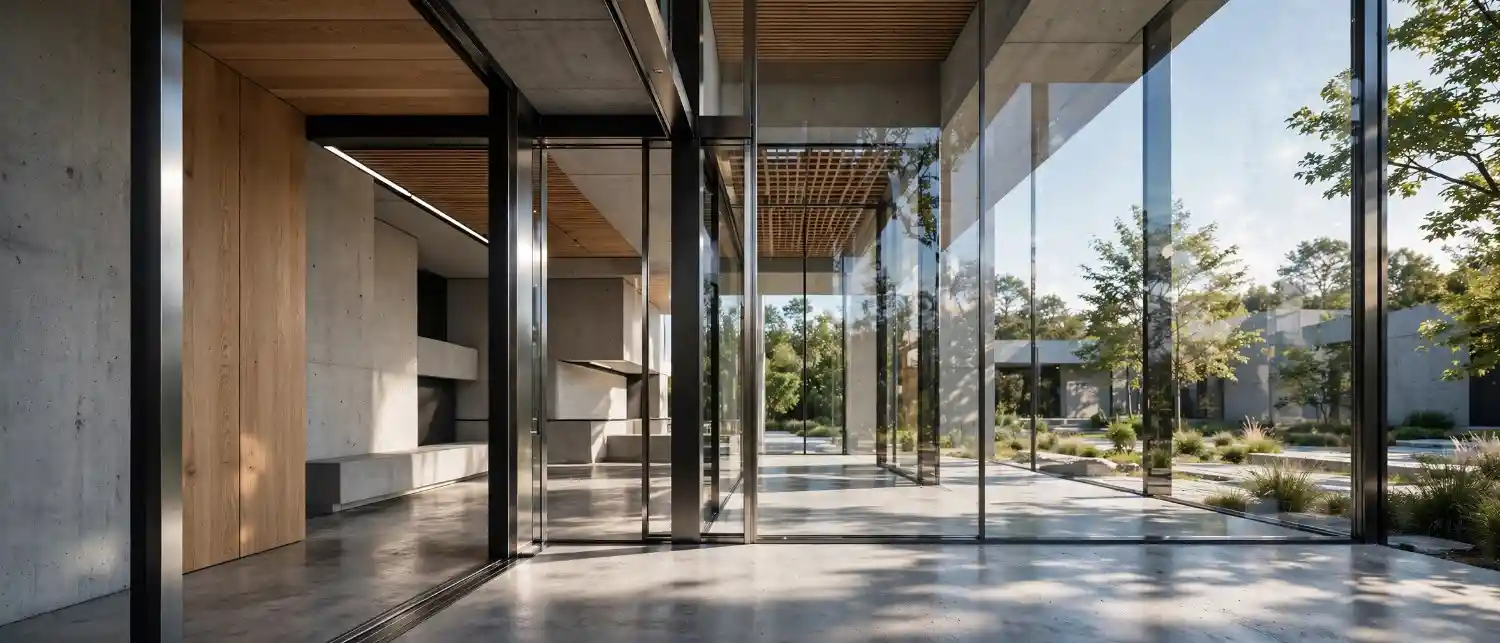
Understanding the workflow behind a photorealistic render demystifies why quality studios charge what they do and why timelines exist.
Here is the typical sequence:
1. Reference gathering
Collecting architectural drawings, elevations, material boards, and site photography.
2. Base geometry modeling
Building the structure, landscaping, and surrounding context in 3D software.
3. Camera and composition setup
Choosing angles that match real photography conventions, such as eye-level or drone perspectives.
4. Material and texture assignment
Applying PBR materials calibrated to the actual finishes specified in the project.
5. Lighting setup
Placing physically accurate sun, sky, and artificial light sources for the desired time of day.
6. Test rendering and review
Low-resolution passes to confirm composition, lighting direction, and material accuracy.
7. Final high-resolution rendering
Full ray-traced output at production resolution, which can take hours per frame depending on scene complexity.
8. Post-production
Color grading, sky replacement, entourage (people, cars, foliage) compositing, and final retouching.
Whether the final deliverable is a single high-impact exterior hero image or a fully animated architectural walkthrough, the underlying production workflow remains fundamentally the same. Each project progresses through a structured pipeline of 3D modeling, material creation, lighting, camera composition, rendering, and post-production to ensure consistent visual quality and photorealism. This is the same proven process our team follows when transforming architectural drawings into realistic visualizations through our 2D Elevation to 3D Exterior Rendering Services, helping clients visualize their designs long before construction begins.
Common Mistakes That Break Photorealism
Even experienced teams can undermine an otherwise strong render with a handful of recurring errors:
- Overly saturated or oversharpened textures, which read as “digital” rather than natural.
- Missing or incorrect scale on furniture, cars, trees, and people, which subtly signals the eye that something is off.
- Flat, single-source lighting with no bounce light or ambient occlusion.
- Perfectly clean surfaces with zero dust, wear, or micro-imperfection.
- Ignoring atmospheric perspective, where distant objects should lose contrast and saturation slightly.
- Skipping post-production entirely, leaving an otherwise good render looking synthetic and “raw.”
- Ignoring reflections and refractions on glazing, which is especially damaging for buildings with large glass facades, since incorrect or missing window reflections are one of the fastest ways a viewer subconsciously identifies a render as fake.
- Rushing entourage placement, such as trees, cars, and pedestrians, without matching their scale, lighting direction, and shadow behavior to the rest of the scene.
- Treating every project with the same lighting preset, rather than adjusting sun position, sky model, and time of day to suit the specific building orientation and marketing goal.
Avoiding these pitfalls is often less about additional software and more about disciplined attention to real-world reference material during production. Studios that maintain a library of real photographic references, organized by material type, lighting condition, and building typology, consistently produce more convincing results than those relying purely on default engine presets.
Expert Tips for Achieving True Photorealism
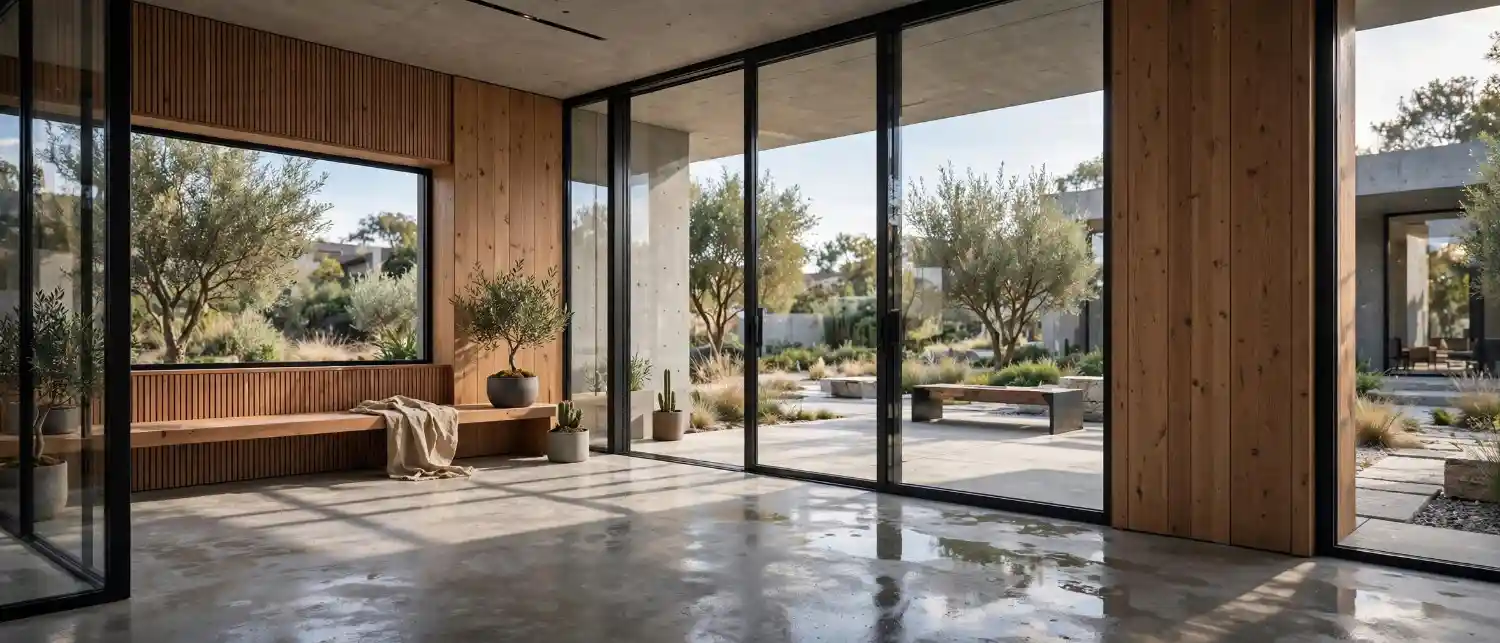
- Always render from real photographic reference. Match camera height, lens focal length, and lighting direction to an actual site photo whenever possible.
- Calibrate materials against physical samples, not just visual guesswork, particularly for reflective or translucent finishes like glass and water.
- Add imperfection deliberately. Slight dust, smudges, and wear age a surface convincingly.
- Use real-world scale references like a 1.8-meter human figure to catch proportion errors early.
- Render test frames at multiple times of day before committing to a final lighting setup, since golden-hour and midday lighting change a scene’s entire mood.
- Cross-check glazing and reflective surfaces separately from the rest of the material pass, since glass, water, and polished metal are consistently the hardest surfaces to get right and the first ones a trained eye checks.
- Keep a shared reference library of real photography organized by material and lighting condition, so every artist on a team calibrates against the same visual standard rather than personal judgment alone.
- Review renders at multiple viewing sizes, including full-screen and thumbnail scale, since marketing material is often viewed as a small social media preview before a viewer clicks through to the full image.
These same principles apply regardless of project scale, whether a studio is creating a single photorealistic exterior hero image for a residential property or developing a comprehensive visualization package for a large master-planned community. From individual homes and luxury villas to mixed-use developments and multi-tower residential complexes, the same physically based rendering workflow ensures consistent quality, realism, and visual accuracy. See how these techniques are applied to large-scale developments in our 3D Aerial Rendering Services, where expansive site plans, surrounding landscapes, infrastructure, and architectural context are brought together into compelling bird’s-eye visualizations.
Key Rendering Software and Tools Used in the Industry
| Tool | Type | Primary Strength |
|---|---|---|
| V-Ray | Ray tracing render engine | Industry standard for architectural photorealism |
| Corona Renderer | Physically based render engine | Intuitive material and lighting workflow |
| Octane Render | GPU-accelerated ray tracer | Fast iteration on high-end GPU hardware |
| 3ds Max / SketchUp | 3D modeling software | Base geometry and scene assembly |
| Substance Painter | Texturing software | Physically based material authoring |
| Photoshop / Lightroom | Post-production software | Color grading and final compositing |
While selecting the right rendering software is important, it is only one component of achieving truly photorealistic architectural visualizations. Even the most advanced rendering engine cannot compensate for poorly calibrated materials, unrealistic lighting, inaccurate camera settings, or an unrefined production workflow. In practice, the quality of the final render depends far more on the expertise of the visualization team than on the software itself. If you’re comparing today’s leading visualization tools, explore our comprehensive guide to the Best 3D Exterior Rendering Software, where we evaluate the industry’s top platforms, their strengths, ideal use cases, and key differences.
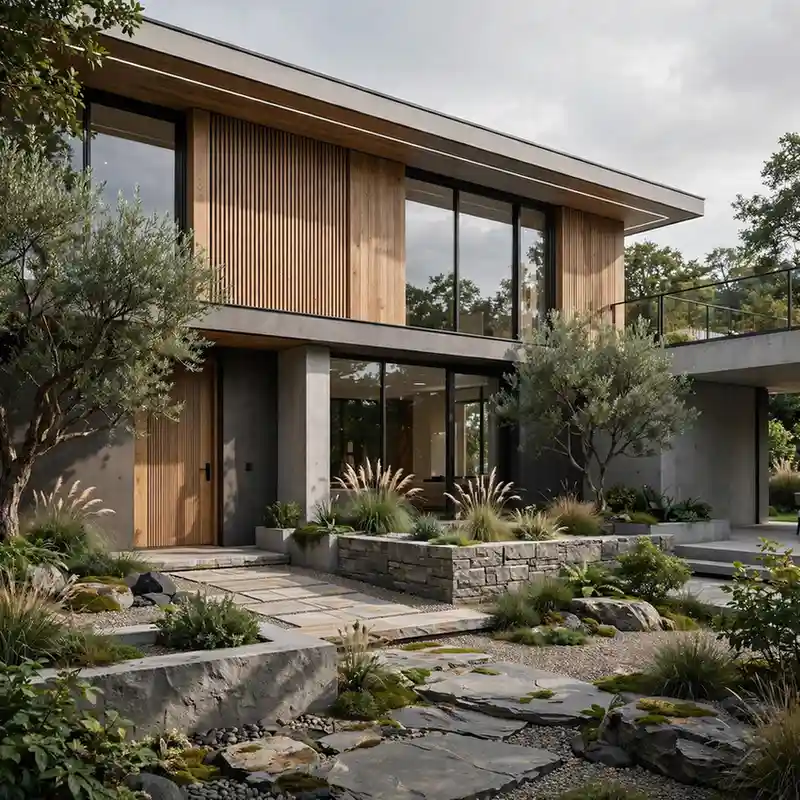
Frequently Asked Questions
What does photorealistic rendering mean?
Photorealistic rendering means creating a computer-generated image so accurate in its lighting, material, and camera behavior that it is difficult to distinguish from an actual photograph.
How long does a photorealistic render take to produce?
Production time varies by scene complexity, but a single high-resolution exterior render typically takes anywhere from a few days to two weeks, including modeling, lighting, and post-production.
Why do some 3D renders still look fake despite high resolution?
Resolution alone does not create photorealism. A render looks synthetic when lighting lacks global illumination, materials are not physically based, or camera imperfections like depth of field and lens distortion are missing.
Is photorealistic rendering more expensive than standard rendering?
In most cases, yes. Creating highly photorealistic architectural renderings typically involves longer rendering times, more sophisticated material development, physically accurate lighting, higher-resolution outputs, and extensive post-production refinement. These additional production stages increase both the time and expertise required, making photorealistic renders more expensive than basic conceptual visualizations. To better understand what influences project pricing, explore our detailed 3D House Rendering Cost Guide, which explains the key factors affecting cost, pricing ranges, and what to expect for different types of architectural rendering projects.
Can photorealistic rendering replace real photography for marketing?
In many cases, yes, particularly for pre-construction or off-plan developments where the physical property does not yet exist. Photorealistic renders are now standard in real estate listings, hotel brochures, and investor marketing materials.
What is the difference between ray tracing and traditional rendering?
Ray tracing calculates how individual rays of light travel, bounce, and interact with surfaces to produce physically accurate reflections and shadows, while older rasterization-based rendering approximates these effects using simplified shortcuts, which is faster but less accurate for photorealistic results.
Do I need to provide reference photos for a photorealistic render?
Providing site photography, material samples, or brand guidelines significantly improves accuracy, since it gives the rendering team real data to calibrate lighting, materials, and camera angle against, rather than relying on assumptions.
How is photorealistic rendering different for interiors versus exteriors?
Interior renders generally require more attention to artificial and mixed lighting sources, such as combining daylight through windows with interior fixtures, while exterior renders focus more heavily on natural sky and sun simulation, landscaping, and atmospheric depth.
Conclusion
To summarize this photorealistic rendering explained breakdown: true photorealism is never the product of one feature or one piece of software. It is the disciplined combination of physically accurate lighting and global illumination, materials calibrated to real-world data, authentic camera and lens behavior, detailed geometry, and a careful post-production pass. Studios that treat each of these as equally important, rather than leaning on resolution or software brand alone, consistently produce renders that read as genuine photography rather than computer graphics.
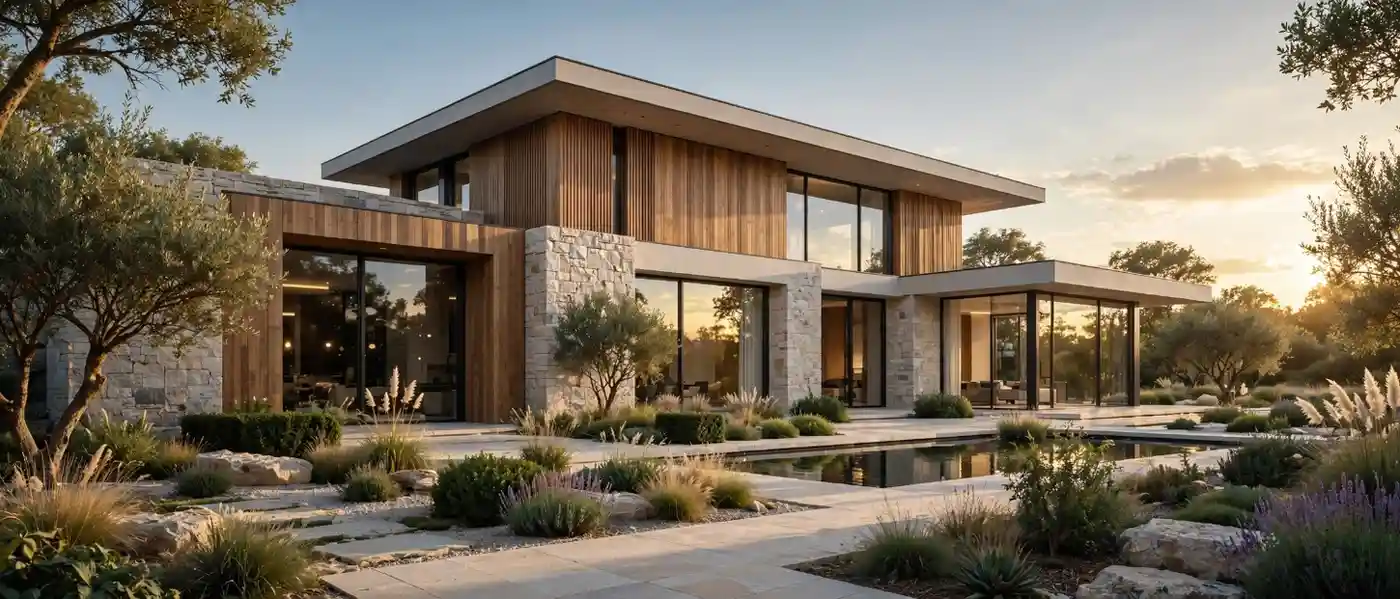
Whether you’re planning a new residential development, preparing a commercial property launch, or creating high-impact marketing materials, investing in photorealistic architectural renderings can significantly enhance how your project is presented and perceived. Our visualization specialists combine physically based rendering techniques, accurate material workflows, and meticulous attention to detail to produce images that inspire confidence and support faster decision-making. Ready to bring your project to life? Get a Custom 3D Exterior Rendering Quote and discover how our photorealistic rendering process can help showcase your development with exceptional realism and visual impact.
Contact Us Today for Photorealistic 3D Exterior Rendering Services →