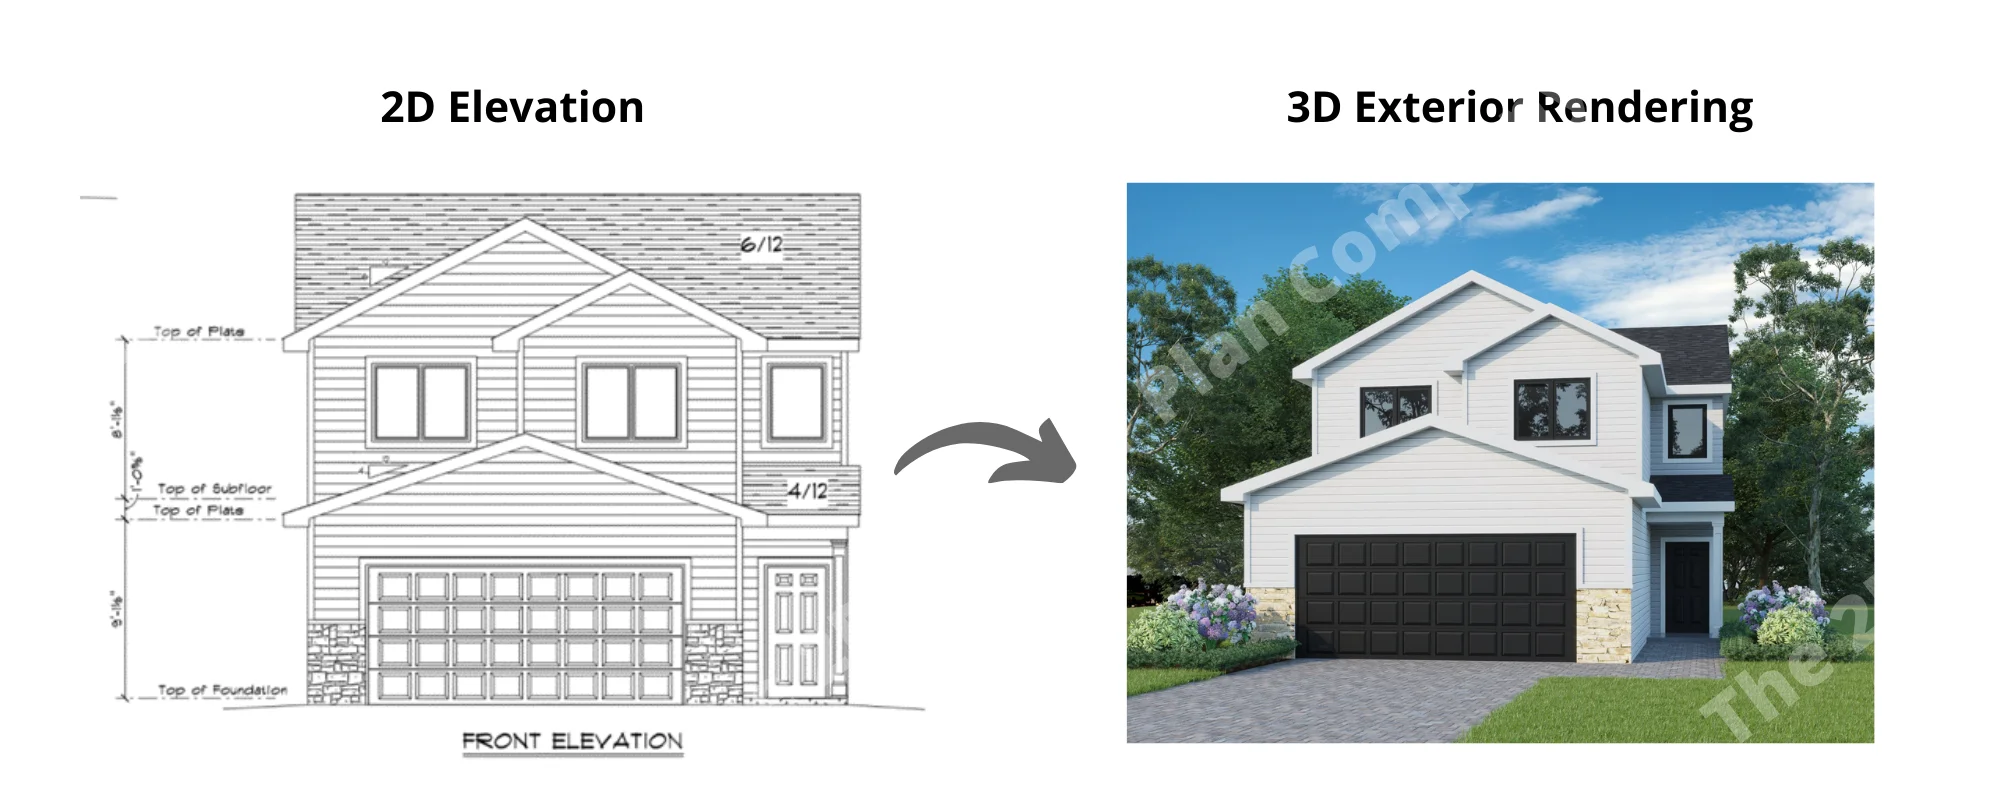
Convert 2D Elevation to 3D Exterior Rendering: As technology advances, it has become convenient to convert 2D elevation drawings into 3D exterior renderings. This is because an exterior conversion from 2D to 3D rendering using a 3D exterior rendering service provides a more accurate depiction of the finished product, and it can help you visualize the result. It can also help you to identify any potential problems with the design before construction begins. A 3D exterior rendering can also help you to win more business, as it can help you impress your clients and show them what you’re capable of.
Table of Contents
How to Convert 2D Elevation to 3D Exterior Rendering?
Many people struggle with the concept of converting 2D elevation to 3D exterior rendering. But with a little bit of practice, and by following a few simple steps, you’ll be able to do it in no time. The first step is to convert the 2D elevation into a 3D model. This can be done with software like AutoCAD or Revit. Once you have the 3D model, you need to create the exterior rendering. This can be done with software like 3dsMax or SketchUp. Make sure that you have the right textures and materials for the project so that the rendering looks realistic.
Benefits of Converting 2D Elevations to 3D Exterior Renderings
Converting 2D elevations to 3D exterior renderings provides a more realistic and immersive view of a building, showcasing its design, materials, and lighting in a way that 2D cannot. This can help potential buyers, architects, and developers better visualize the finished product, enhancing marketing efforts and reducing the need for physical models.
Exterior Conversion from 2D Elevation Drawing to 3D Rendering
Benefit 1 # Photo-realistic Look (as real as)
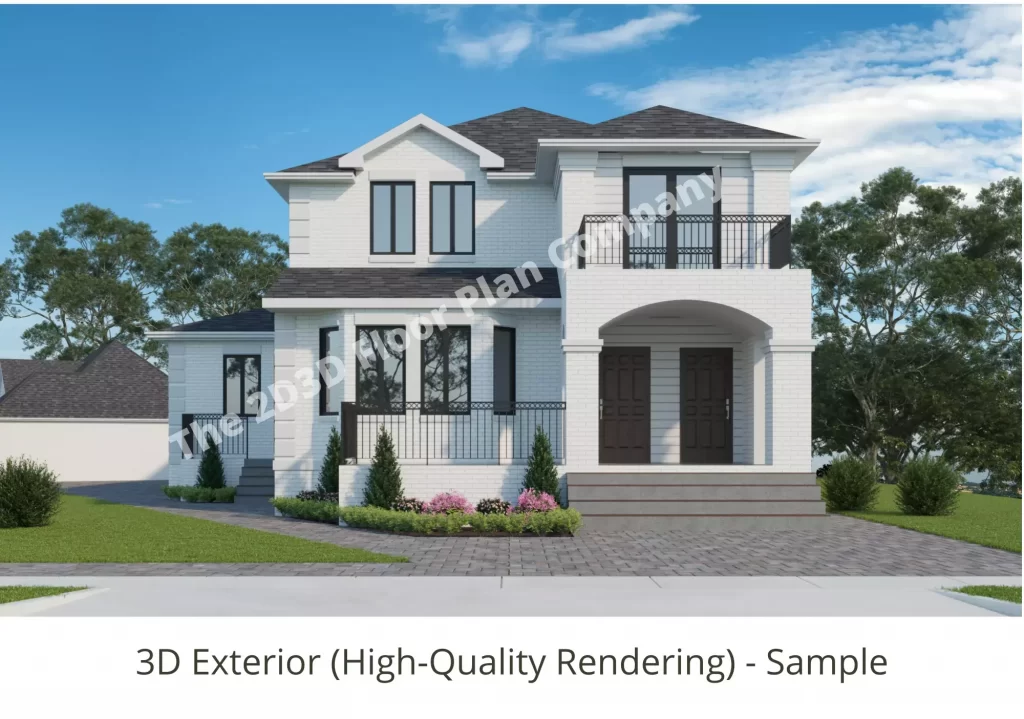
When you convert a 2D elevation into a 3D exterior rendering, you get a much more realistic look. The photo-realistic rendering gives you a view of the building that looks just like the real thing. This is a great way to get a sense of the finished product and to see how it will look once it’s completed. It also gives you a chance to make any changes or adjustments that you might need to make before the final product is completed.
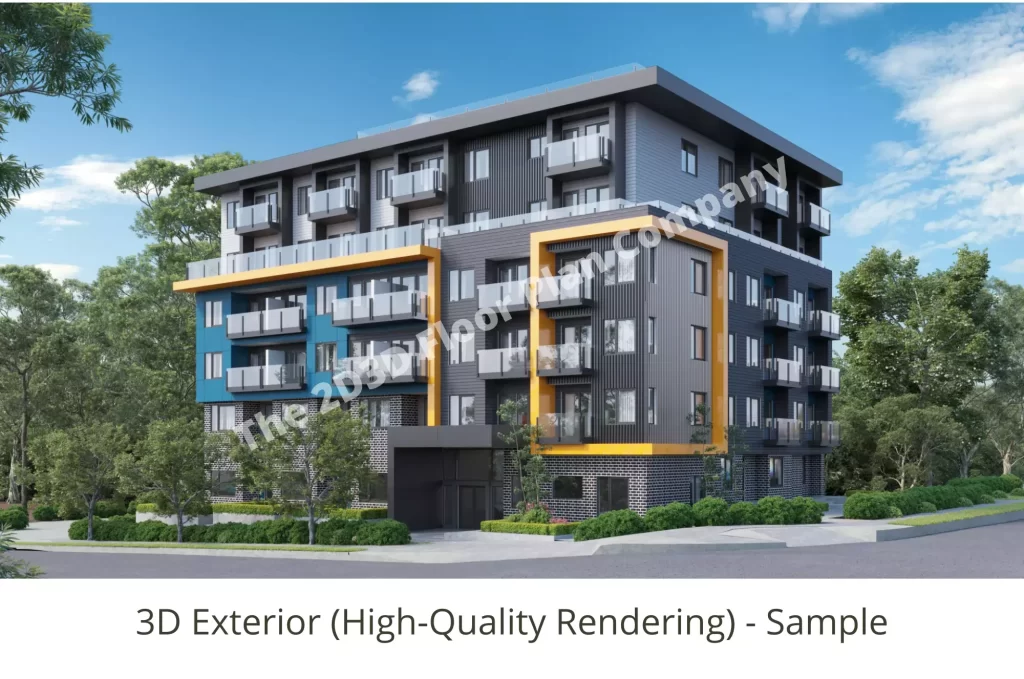
Benefit 2 # Detailed Presentation of 2D Elevations in the form of 3D Elevations
This is because you can see all of the details in the elevation, and you can see how the building will look from all angles. You can also see how the light will hit the building at different times of the day, and how the shadows will fall. This is a great way to get a sense of the finished product, and it can help you decide on the final look of your building. Also, Read: 3D Aerial Rendering Price Cost
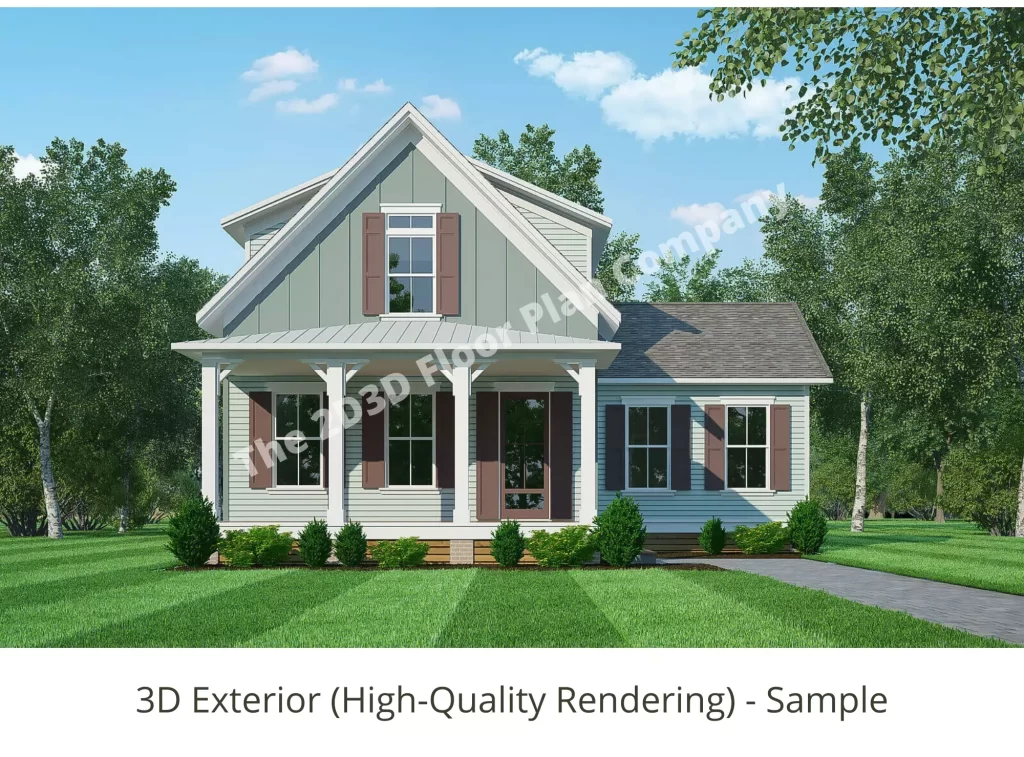
Benefit 3 # Helping Others to Understand the Plan and Future Perspective
A lot of people struggle with the transition from 2D to 3D because it’s a completely different way of looking at things. The benefit of being able to convert 2D elevation to 3D exterior rendering is that you can help others understand your plan and future perspective. It can be difficult to explain your ideas to someone in 2D, but with a 3D rendering, they can see exactly what you’re talking about. You’ll be able to take them on a virtual tour of your project and they’ll be able to see all the details. This is a great way to get feedback and get people on board with your project. 3D rendering of house plans also includes the 3D floor plans/interiors and 3D rendering house exteriors.
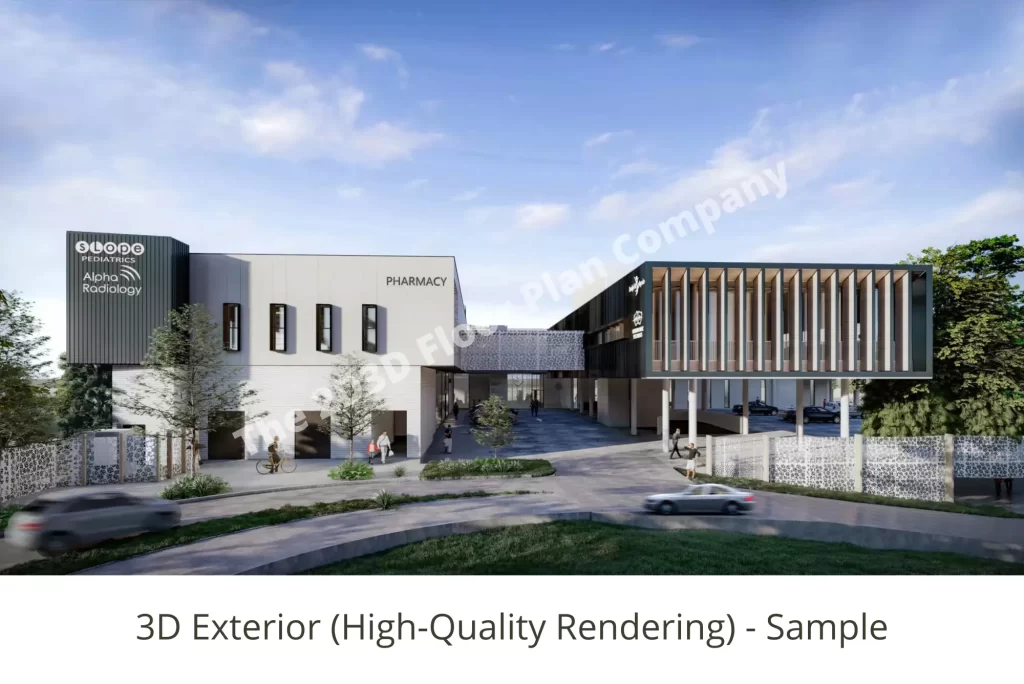
Benefit 4 # It Enables Communication and Collaboration
By converting your 2D elevation drawings into a 3D exterior rendering, you can help others – such as your clients, builders, and even potential home buyers – understand your proposal pitch, or plan. 3D renderings can help to improve communication and collaboration and can result in a more cohesive finished product. Exterior conversion from 2D elevation drawings to 3D renderings can also be used to create marketing materials and to help with the sale of a home.
Also, Read: 3D House Front Design Made Easy
Benefit 5 # Precision and Accuracy of the 3D exterior renderings
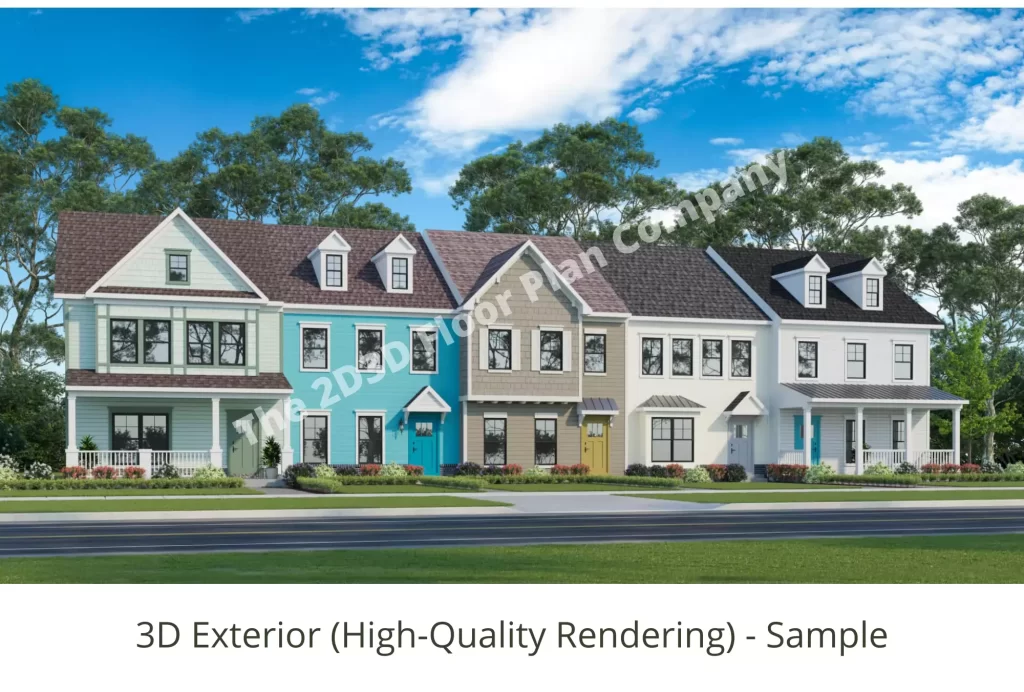
When it comes to converting 2D elevation files into 3D exterior renderings, precision and accuracy are of the utmost importance. By taking the time to ensure that your 2D elevation file is converted perfectly, you can avoid costly mistakes and ensure that your final rendering is as accurate as possible. This is especially important when it comes to creating renderings for clients, as they will be relying on your accuracy to make important decisions about their projects.
Benefit 6 # Converting 2D Elevation to 3D Exterior Rendering to Save Your Time
When you need to convert a 2D elevation into a 3D exterior rendering, it’s important to use a tool that will save you time. 3D exterior rendering is a complex process that can take a long time to complete. If you’re using the right tool, you can save time and improve your workflow. There are a number of benefits to using a tool that can convert a 2D elevation into a 3D exterior rendering. Not only can you save time, but you can also improve the quality of your work. Also, Read: Real Estate 3D Property Rendering
Benefit 7 # 3D Exterior Elevations are great for Branding and Marketing
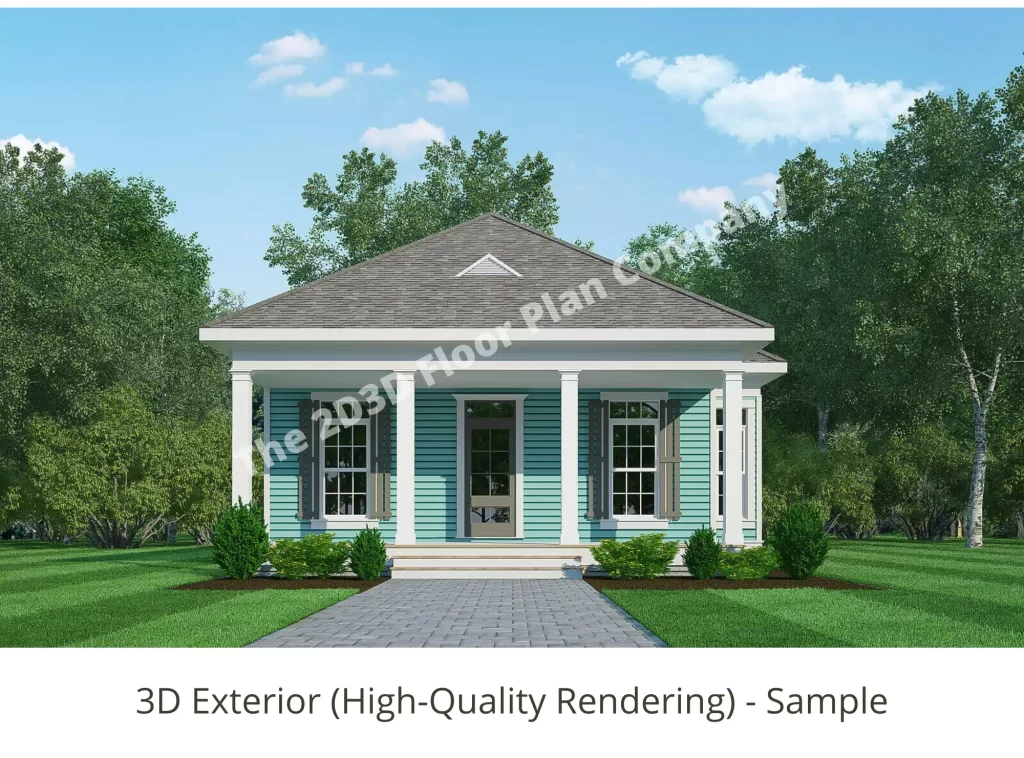
3D exterior rendering is the best way to show off your product or building. It gives a realistic view of how your finished product will look. Potential customers or investors can get a better idea of what your product or building will look like, which can help with branding and marketing. It can also help with the development of your product or building. Having a realistic 3D rendering can help with the overall design and functionality of your product or building. It is a great way to impress your clients and to show them what your building will look like when it’s finished. They help people to remember your product and they can be used in marketing materials, such as ads and website designs.
Benefit 8 # Low-Cost option for Exterior Conversion from 2D Elevation to 3D Rendering
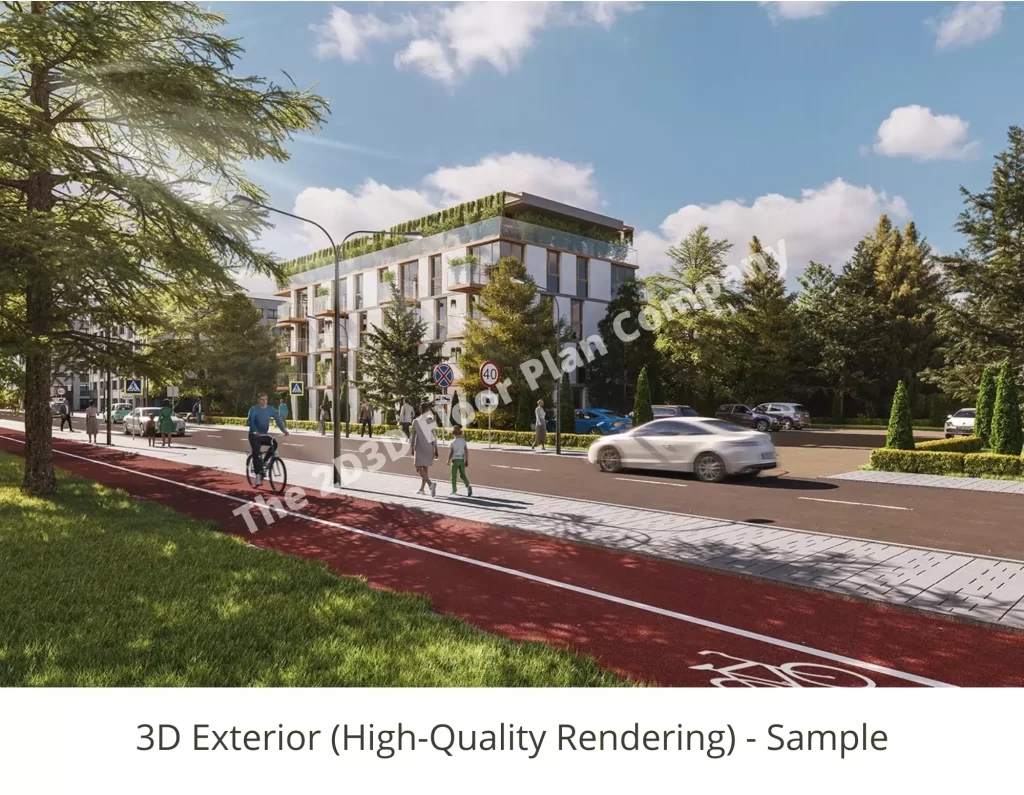
It is cost-effective because you can catch potential errors and design flaws early on in the process, which will save you time and money in the long run.
Also, Read: 3D Exterior Home Design Made Easy
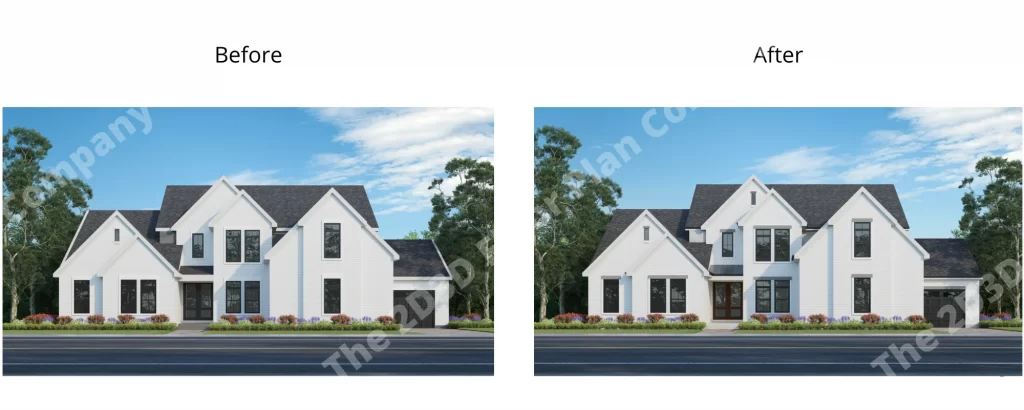
Benefit 9 # Correct Errors Before Starting the Actual Construction
You can identify potential problems with the structure of the building prior to construction. This can save you time and money in the long run, as you can fix any problems with the design before construction begins. It also allows you to get a better idea of what the finished product will look like.
Error Correction Example:
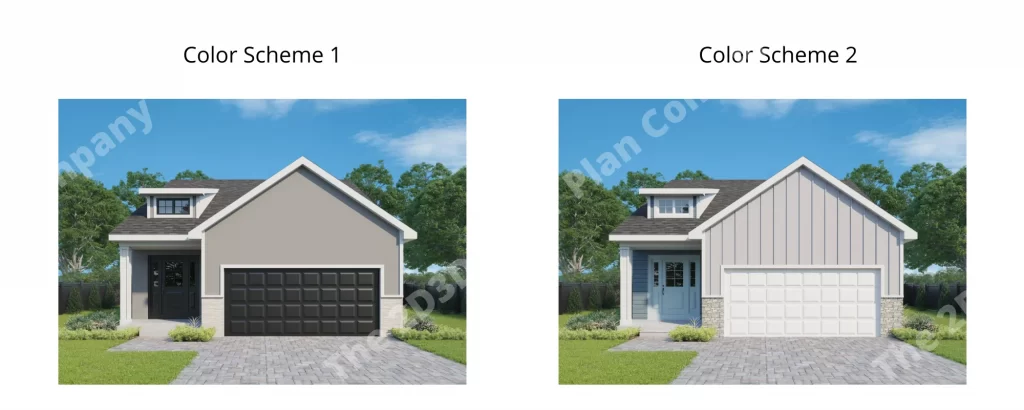
Benefit 10# Try Different Colors, Finishes, Materials before Starting the Project
You can try out different colors, finishes, and materials to see what works best for your home or business. This is a great way to get a realistic idea of what your building will look like once it’s completed. You can also experiment with different rooflines and window placements to see what looks best. By using 3D exterior renderings, you can make informed decisions about your construction project and avoid costly mistakes.
Color Scheme Change Example:
Benefit 11 # Help in closing more Sales
When it comes to selling a property, a 3D exterior rendering is a great way to give potential buyers a realistic view of what the property looks like. It can be difficult to imagine what a property will look like from just a 2D elevation. A 3D exterior rendering can help you sell the property by giving buyers a better idea of what the property looks like. It can also help in more sales because it gives buyers a better idea of what the property will look like once it’s finished.
Benefit 12 # Multiple Options and Concepts you can have
You can explore multiple design concepts. You can get a feel for which options look the best and which ones your customers will prefer. You can also get a better sense of the overall design and how it will look when it’s finished. You can help to speed up the approval process by providing your client with a realistic representation of the final product.
Also, Read: Plan to Elevation Converter – Benefits & Importance
Benefit 13 # Easy to share and can have many multimedia options
You can easily share it with your team and get their feedback. You can also create many multimedia options such as videos, images, and animations. This will help you present your design in the best way possible and get everyone on board with your plans. You can easily post them on social media or send them in an email. You can also create videos or GIFs from them. This makes it easy to get the message across to your target market. Additionally, you can create a wide range of multimedia content with them, which can help you to stand out from your competition.
FAQs
What are some common methods for converting 2D elevation data into 3D renderings?
There are a few common methods for converting 2D elevation data into 3D renderings. One popular method is to use a 3D modeling program to create a 3D model of the elevation data. 2D elevation to 3D model using 3ds Max and then 3D rendering using V-ray software.
What are the benefits of exterior conversion from 2D elevation drawing to 3D rendering?
A three-dimensional (3D) rendering is a type of image that shows an object in three dimensions. This is done by using software to create a two-dimensional (2D) image from a three-dimensional model. 3D renderings are often used in architecture, product design, and video game development. There are several benefits of using 3D renderings over 2D elevation. First, 3D renderings can provide a more realistic view of an object. This can be useful for understanding how an object will look in real life. Second, 3D renderings can be used to create images that are not possible to create with 2D elevation drawings.
What is the first step in converting a 2D elevation to a 3D exterior rendering?
There is no one-size-fits-all answer to this question, as the first step in converting a 2D elevation to a 3D exterior rendering will vary depending on the specific software being used. However, in general, the first step will involve creating a 3D model of the building from the 2D elevation. This can be done by importing the 2D elevation into the software, or by manually creating the 3D model using the software’s tools. Once the 3D model is created, it can then be used to create the final 3D rendering.
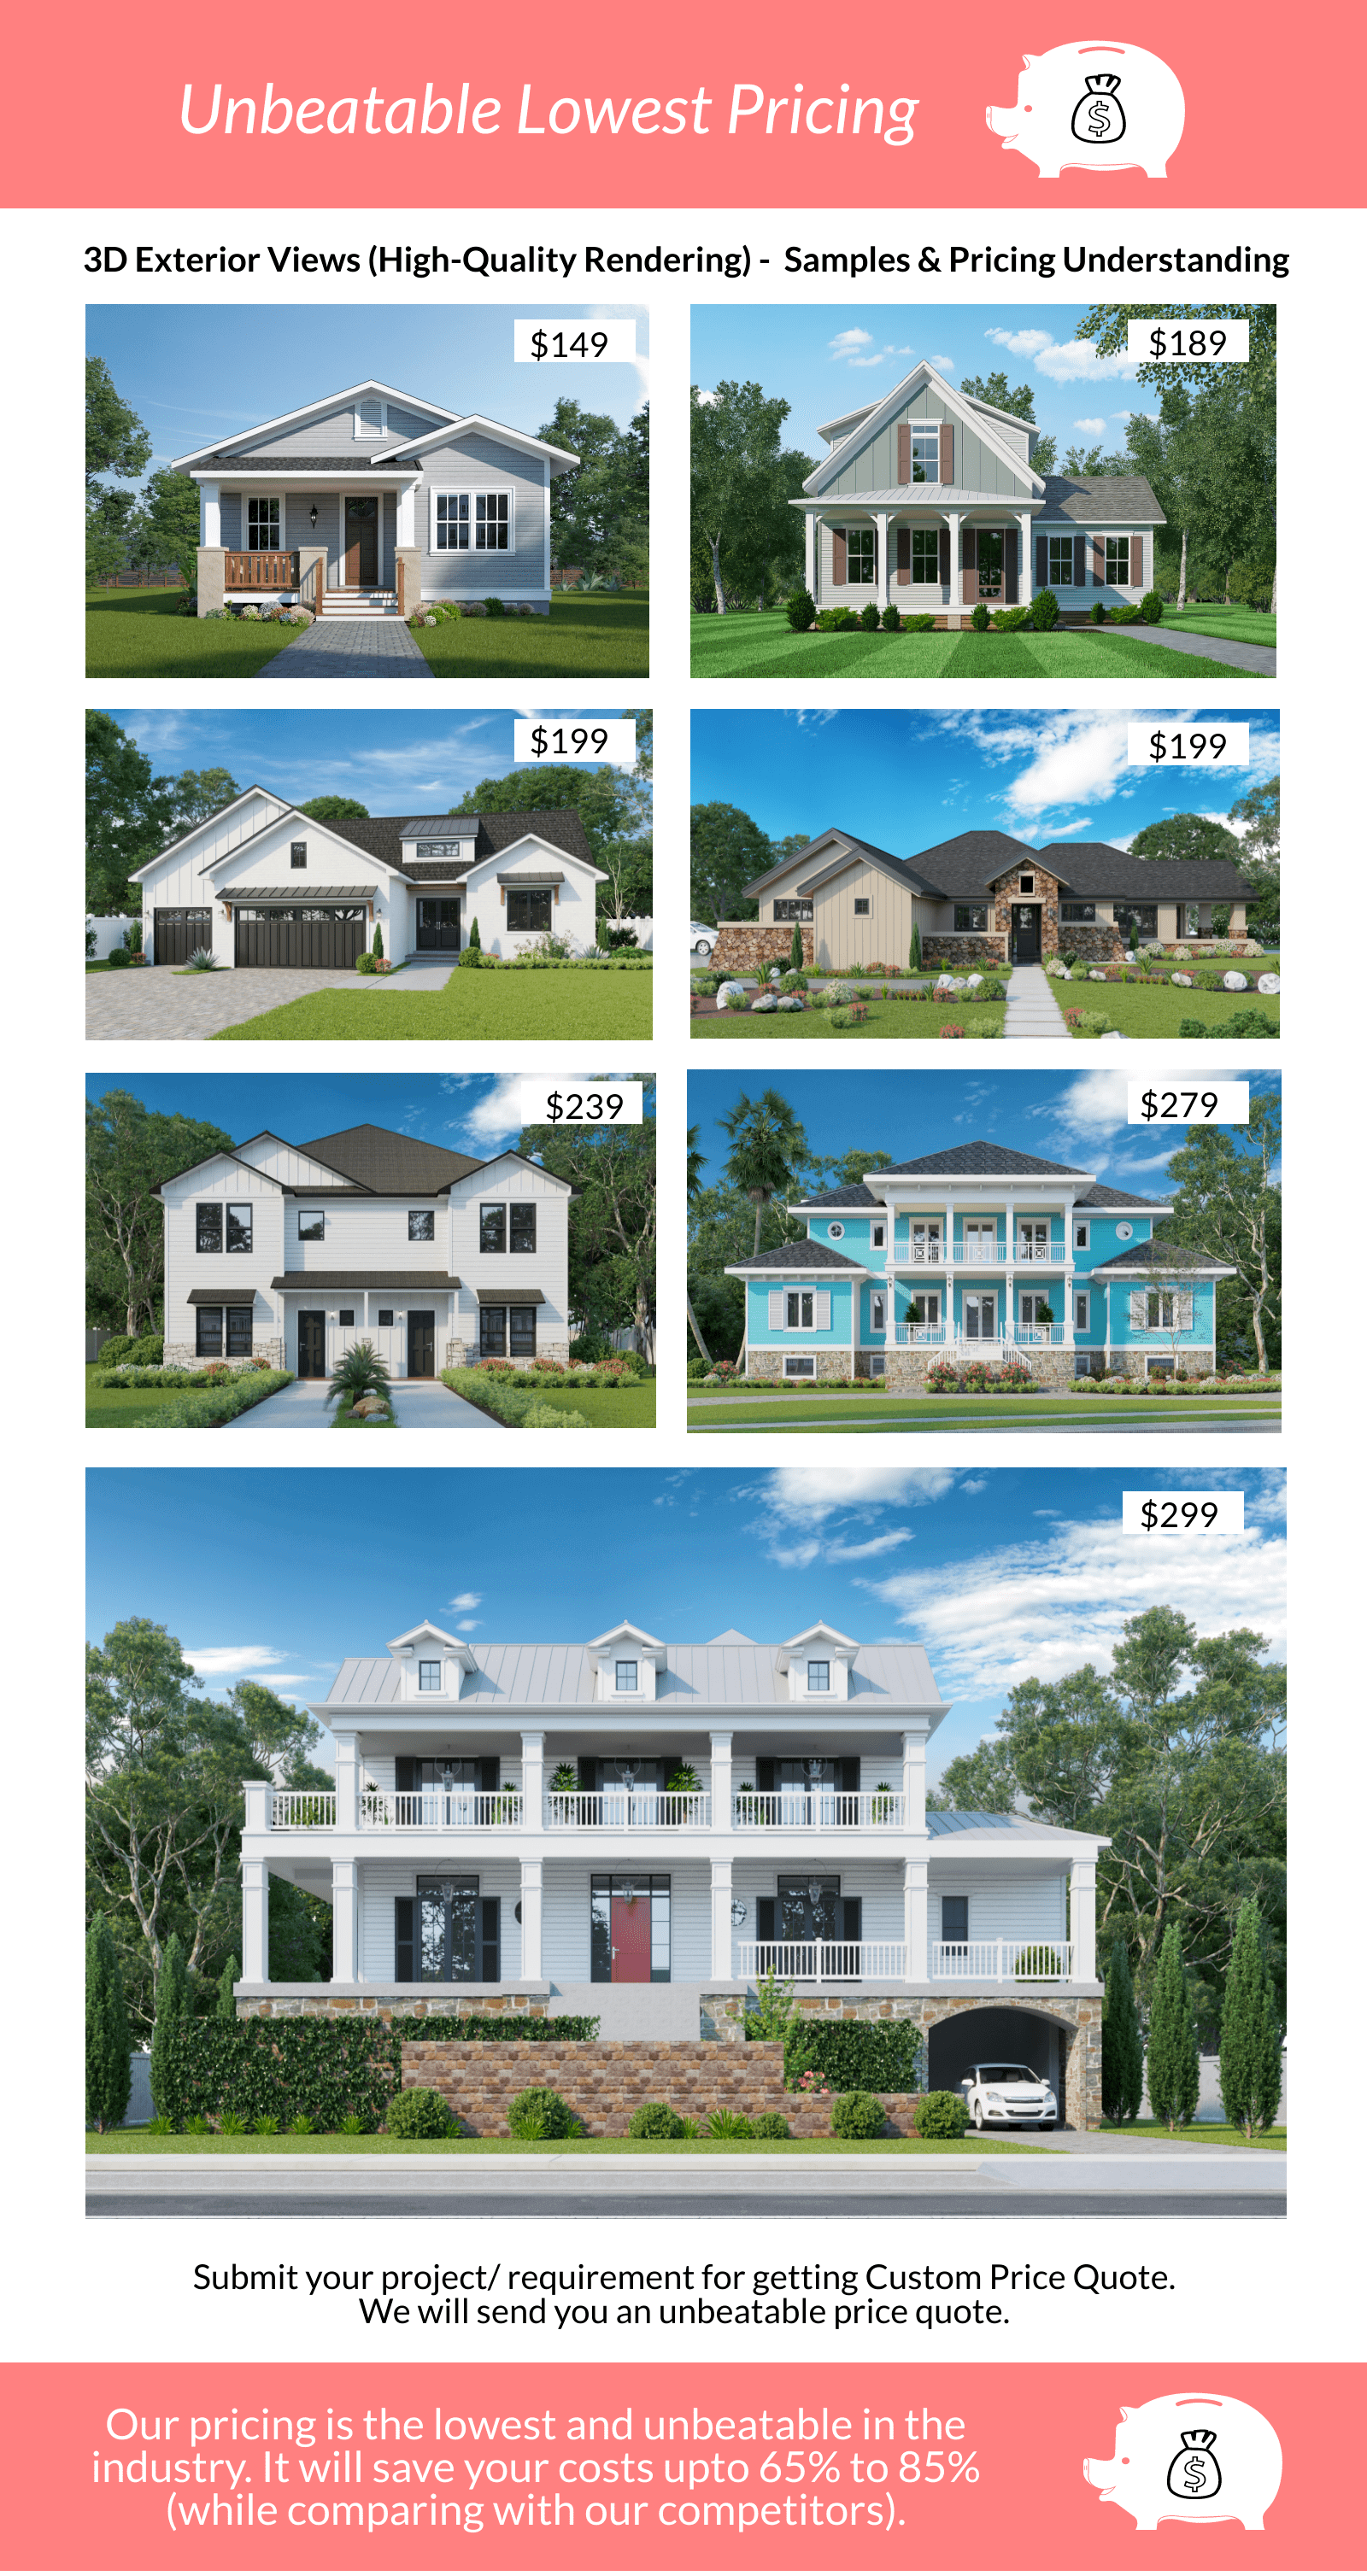
Unbeatable Lowest Pricing without Lowering the Quality
High-quality 3D Exterior Renderings (created using the most advanced software, 3ds Max for 3D modeling and V-Ray for rendering)
Send Your Requirement Now:
Click here for 3D Exterior Renderings
Click here to Get Custom Quote (for 3D Exteriors, 3D Interiors, 2D & 3D Floor Plans)
Samples: 3D Exterior Rendering Samples, 3D Interior Design Samples, 2D Floor Plan Samples, 3D Floor Plan Samples
Contact
Quick Contact
You can also submit your requirements here (use the below form):
